Create new AWS account
Content:
- Create an AWS account
- Add payment method
- Verify your phone number
- Select Support Plan
- Wait for your account to be activated
- Important
- Warning
Create an AWS account
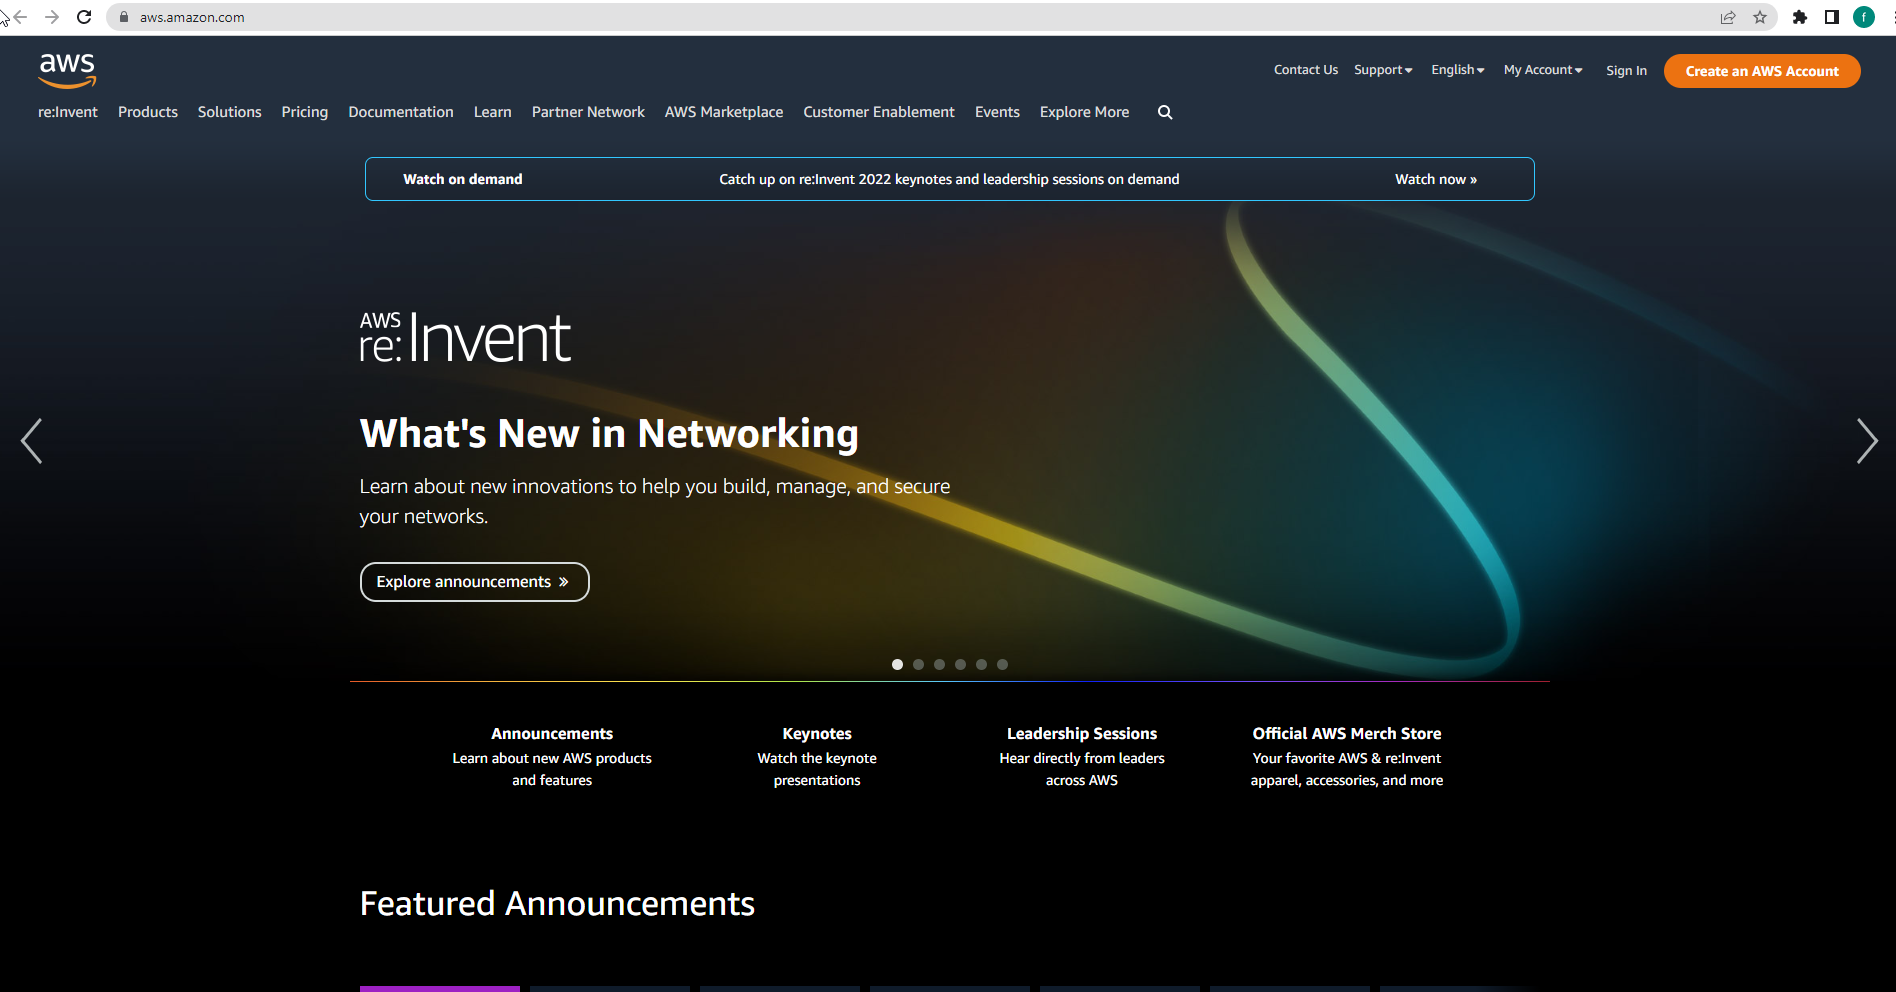
- Go to the Amazon Web Service homepage page.
- Select Create an AWS Account in the upper right corner.
- Note: If you don’t see Create an AWS Account, select Sign In to the Console then select Create a new AWS Account.
- Enter email information and AWS account name
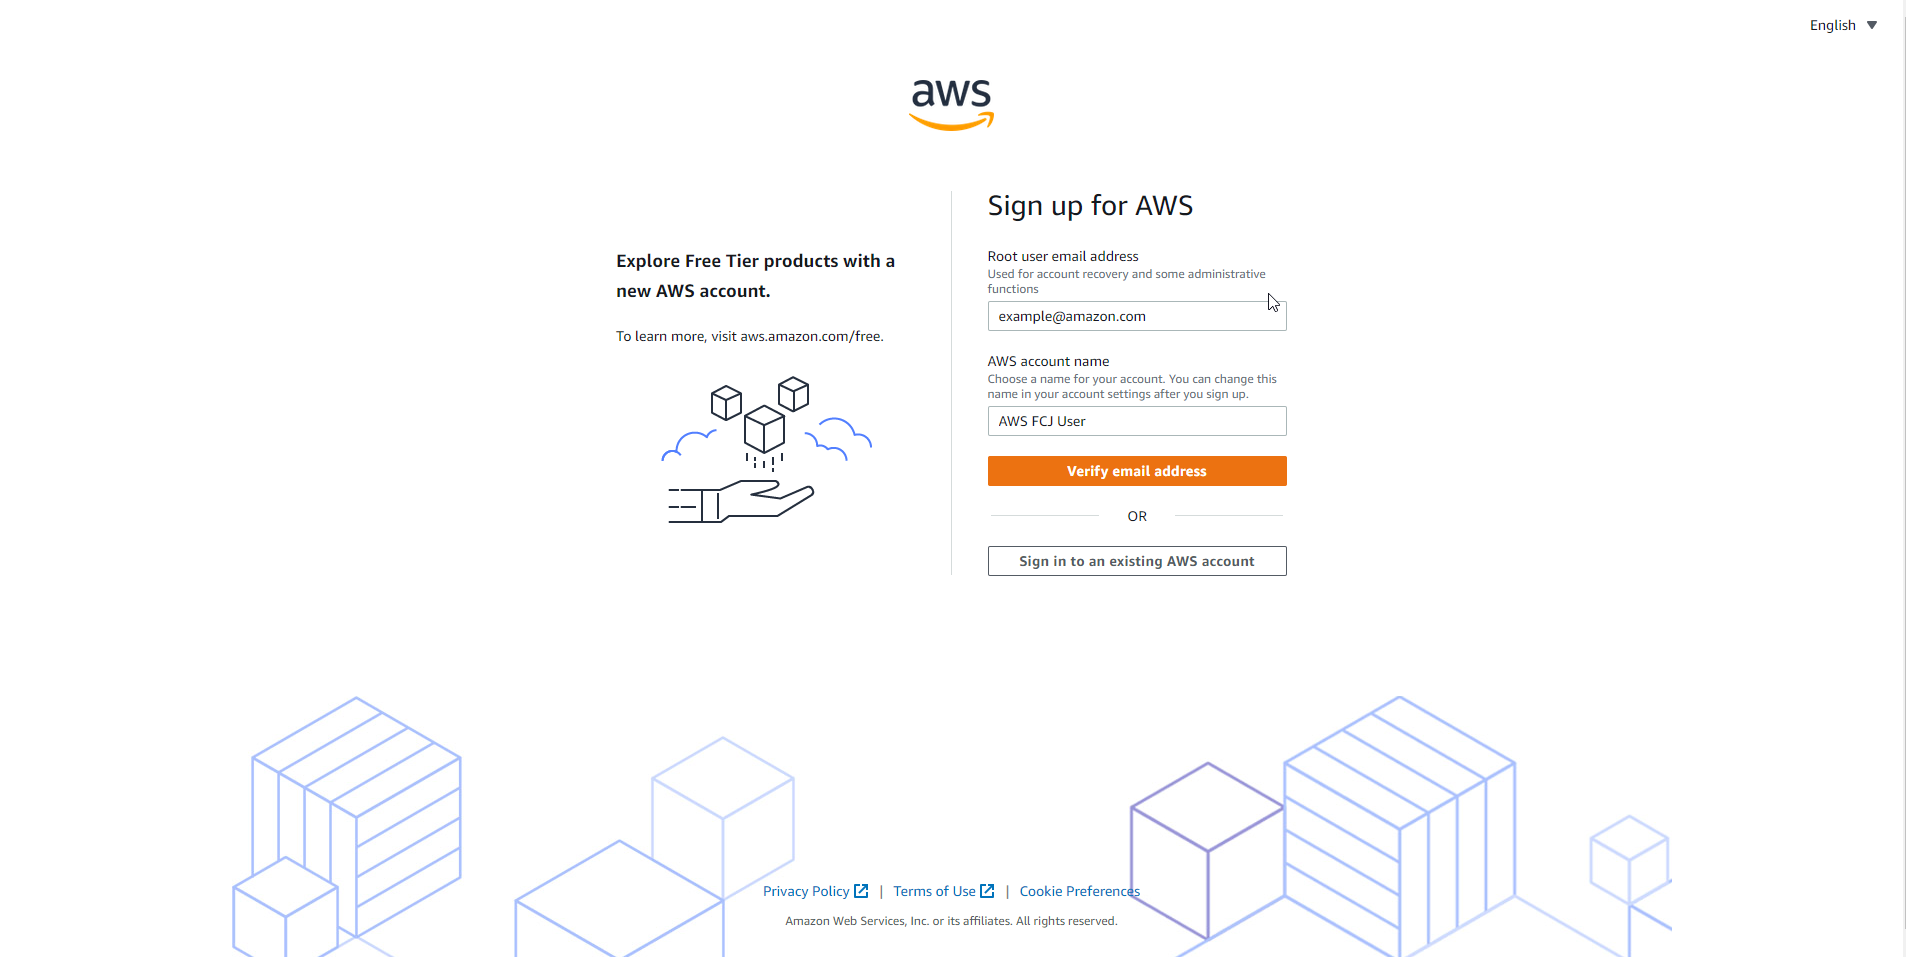
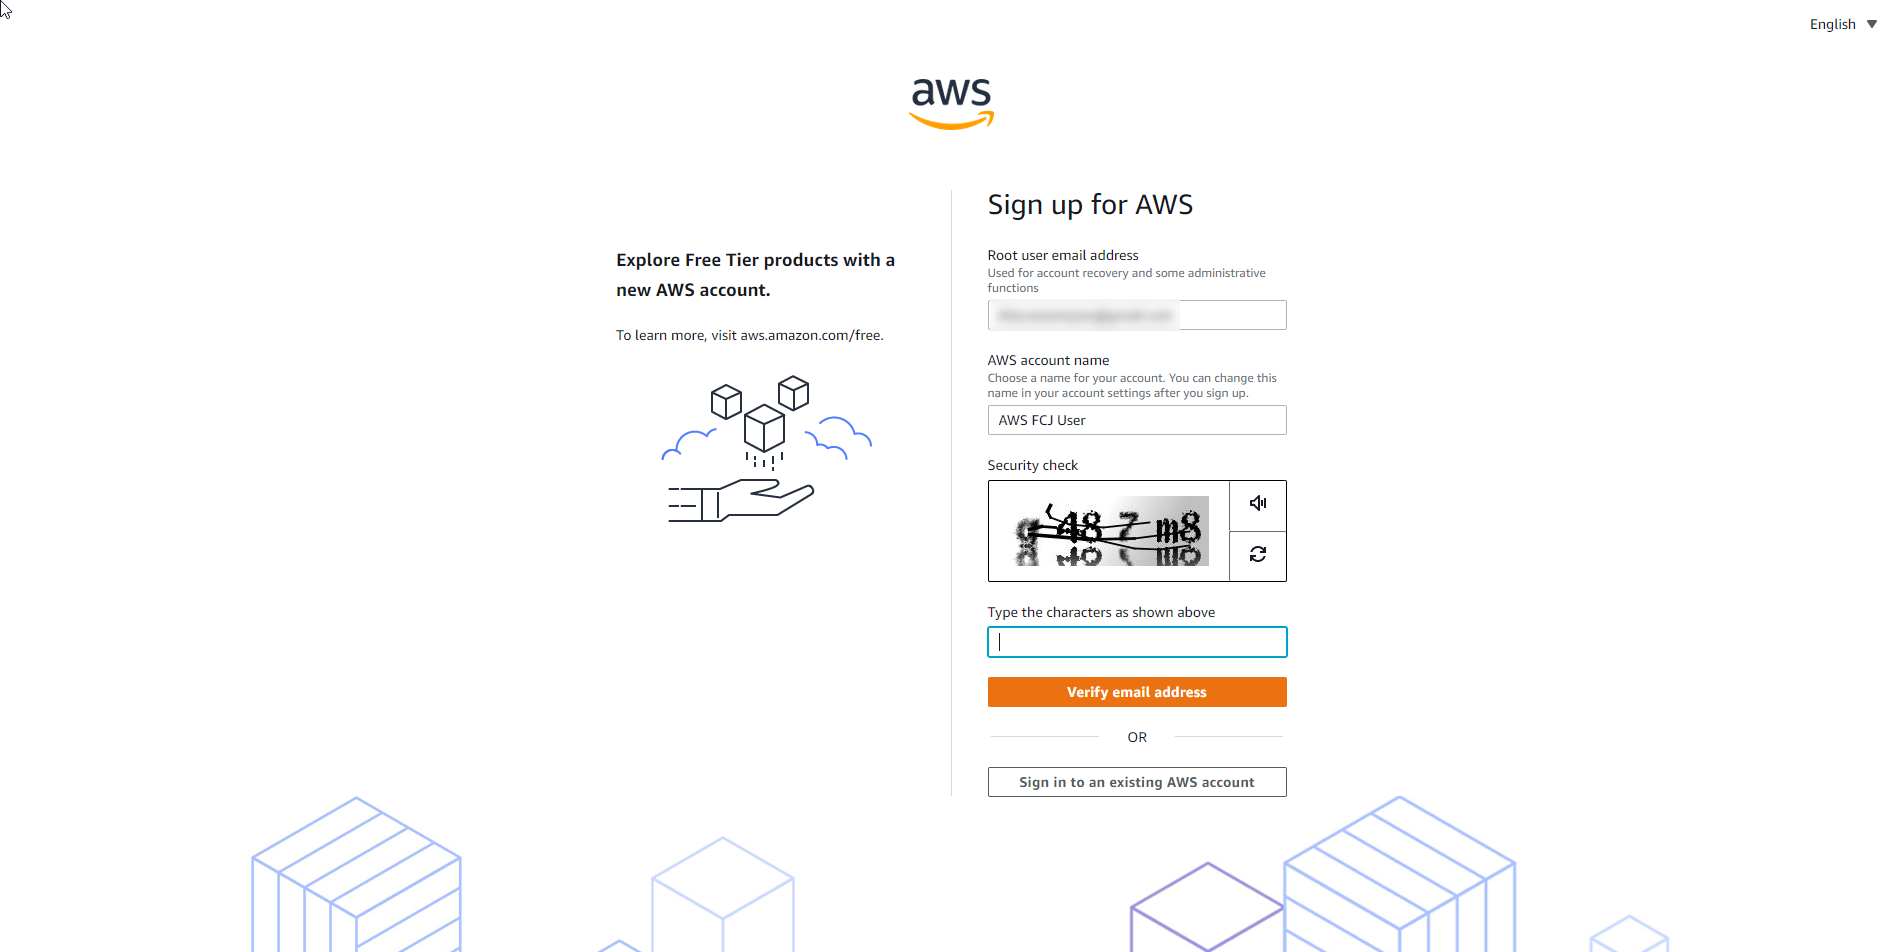
- Complete information.
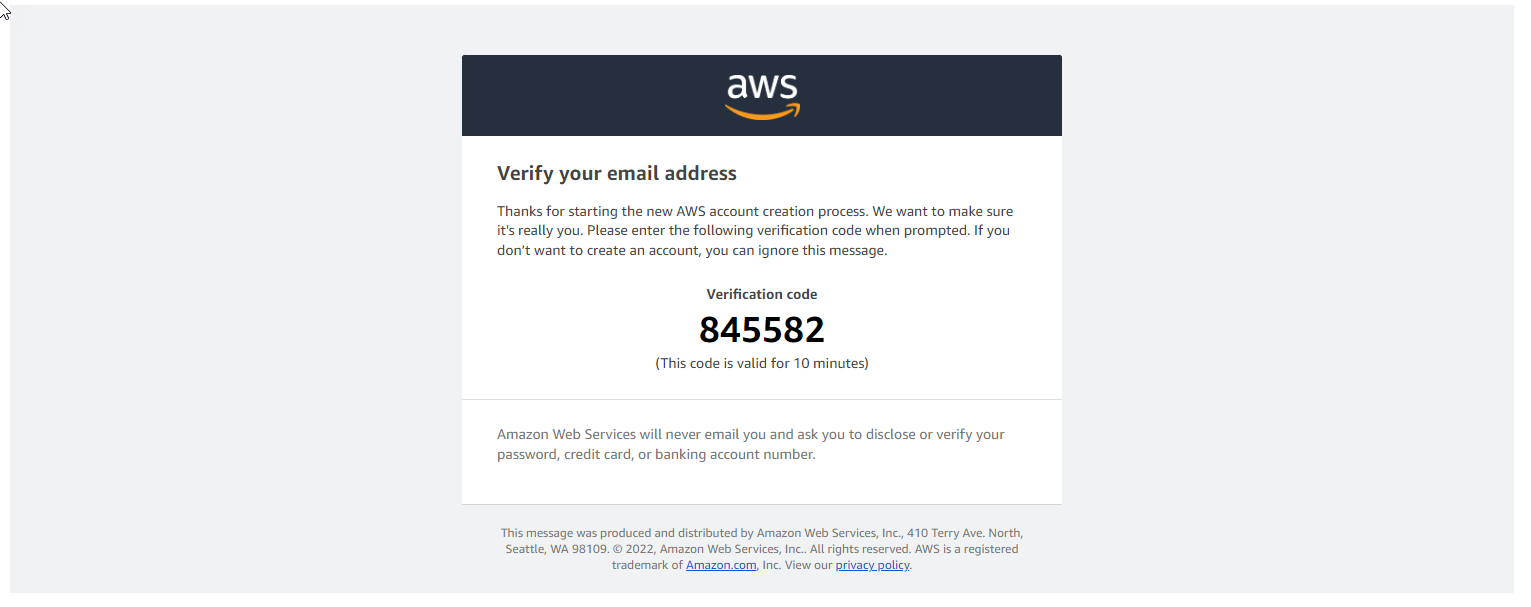
- Confirm the code sent from the email.
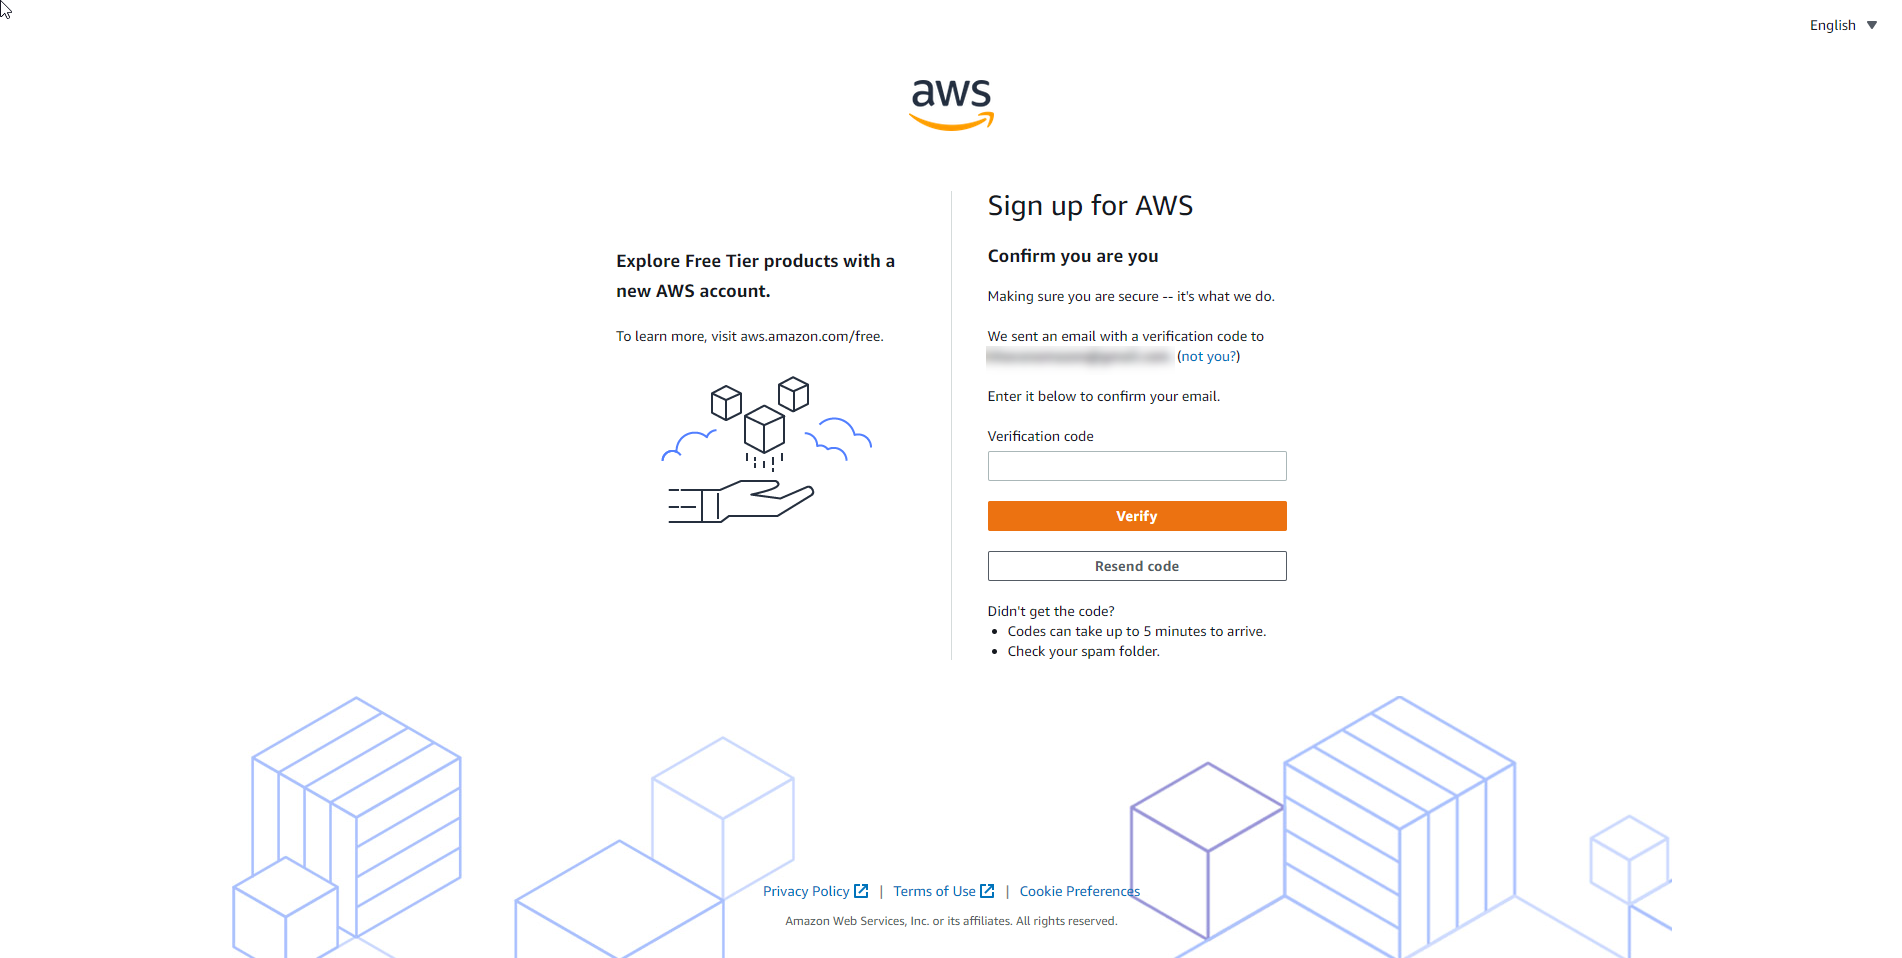

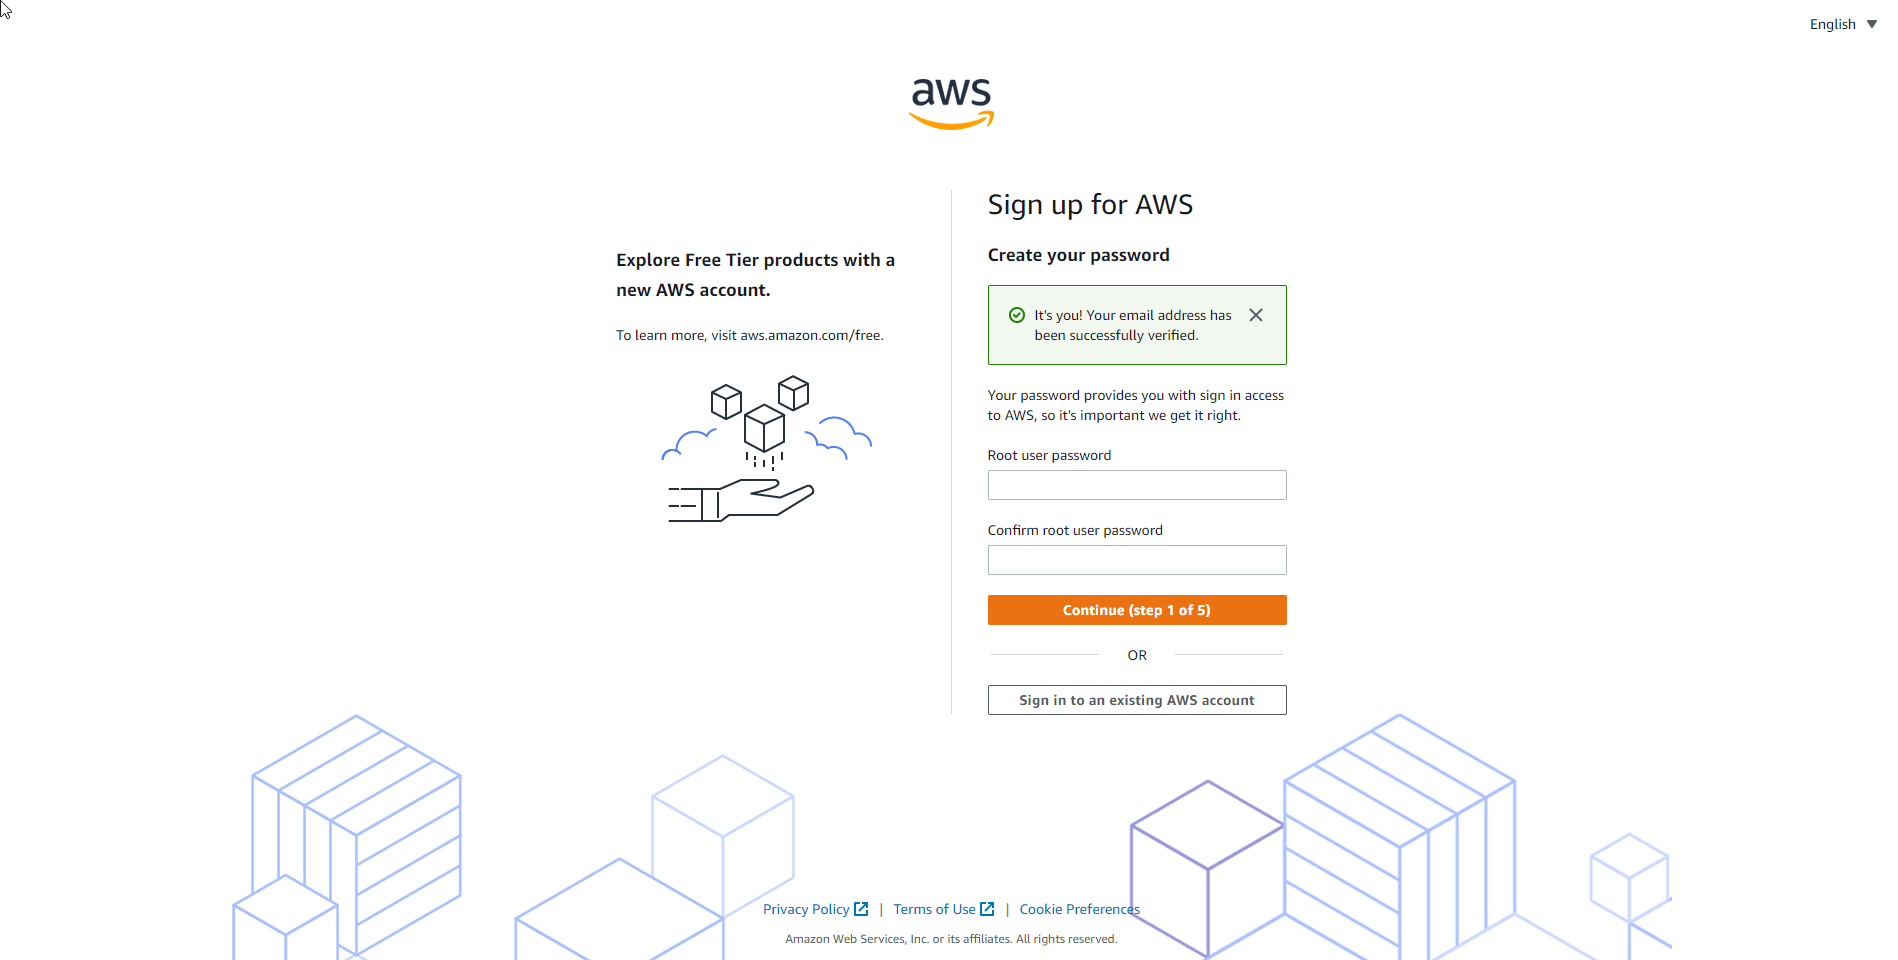
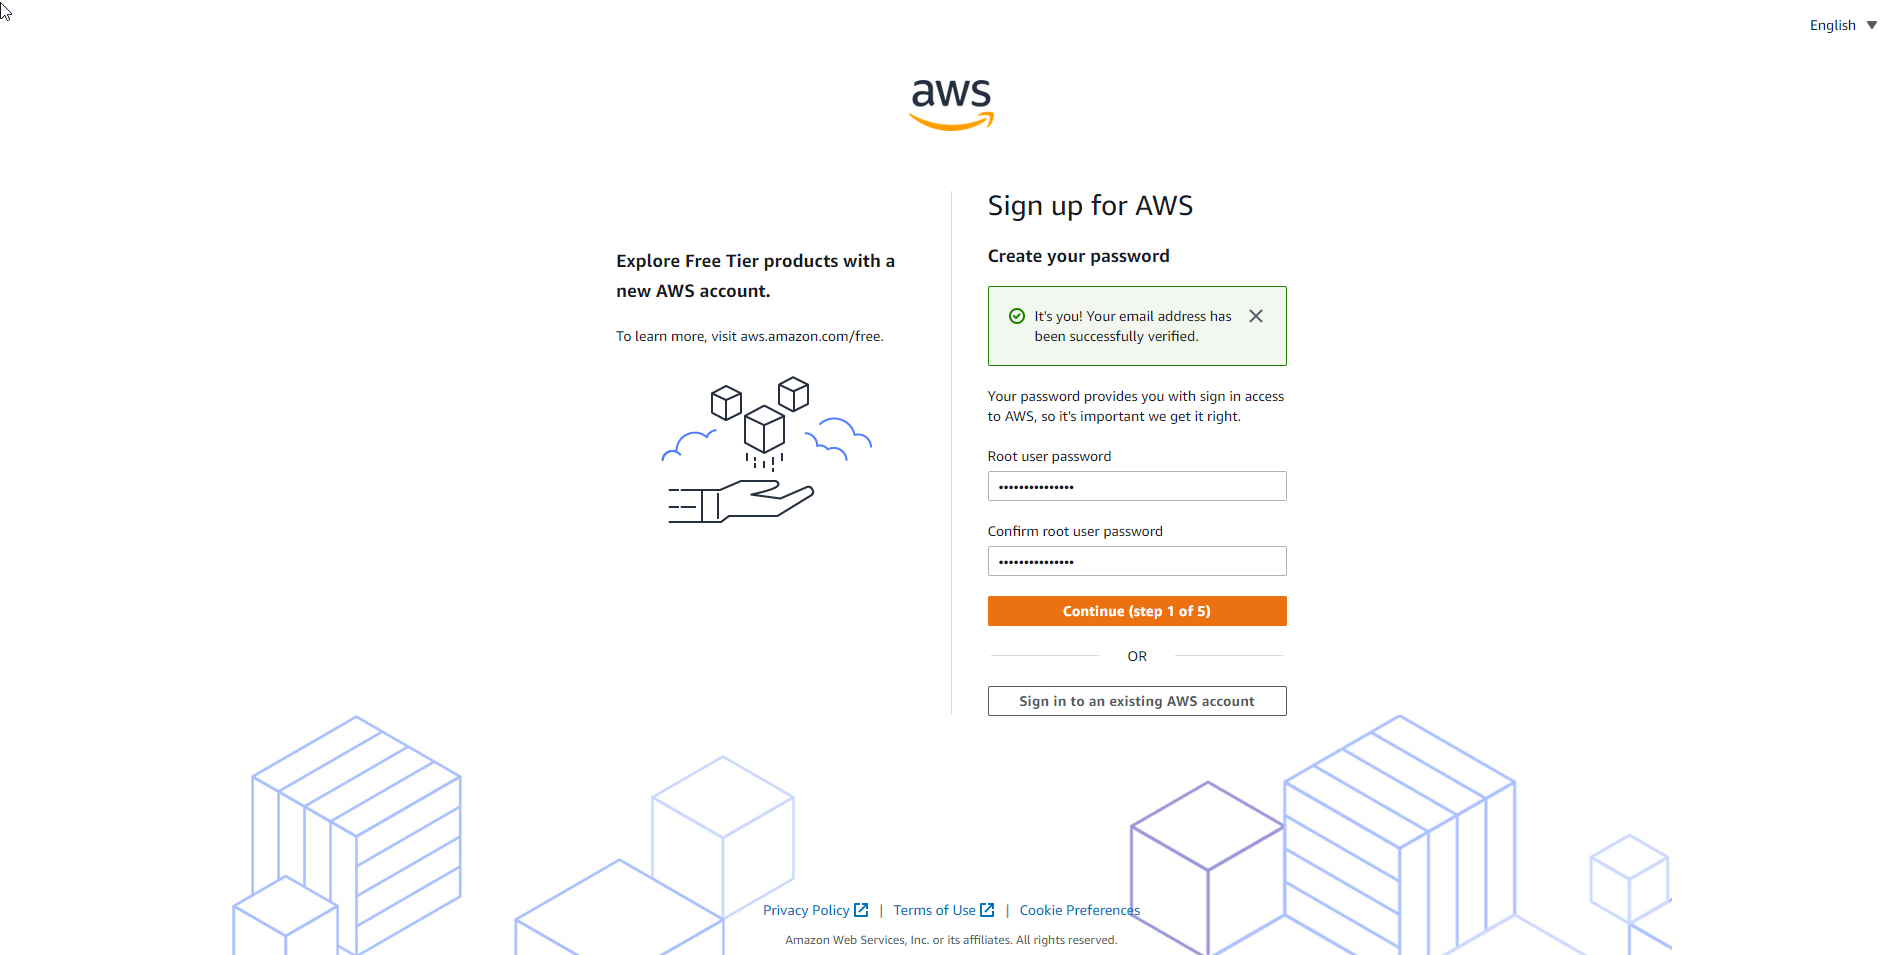
- After successful email authentication. You complete the account information.
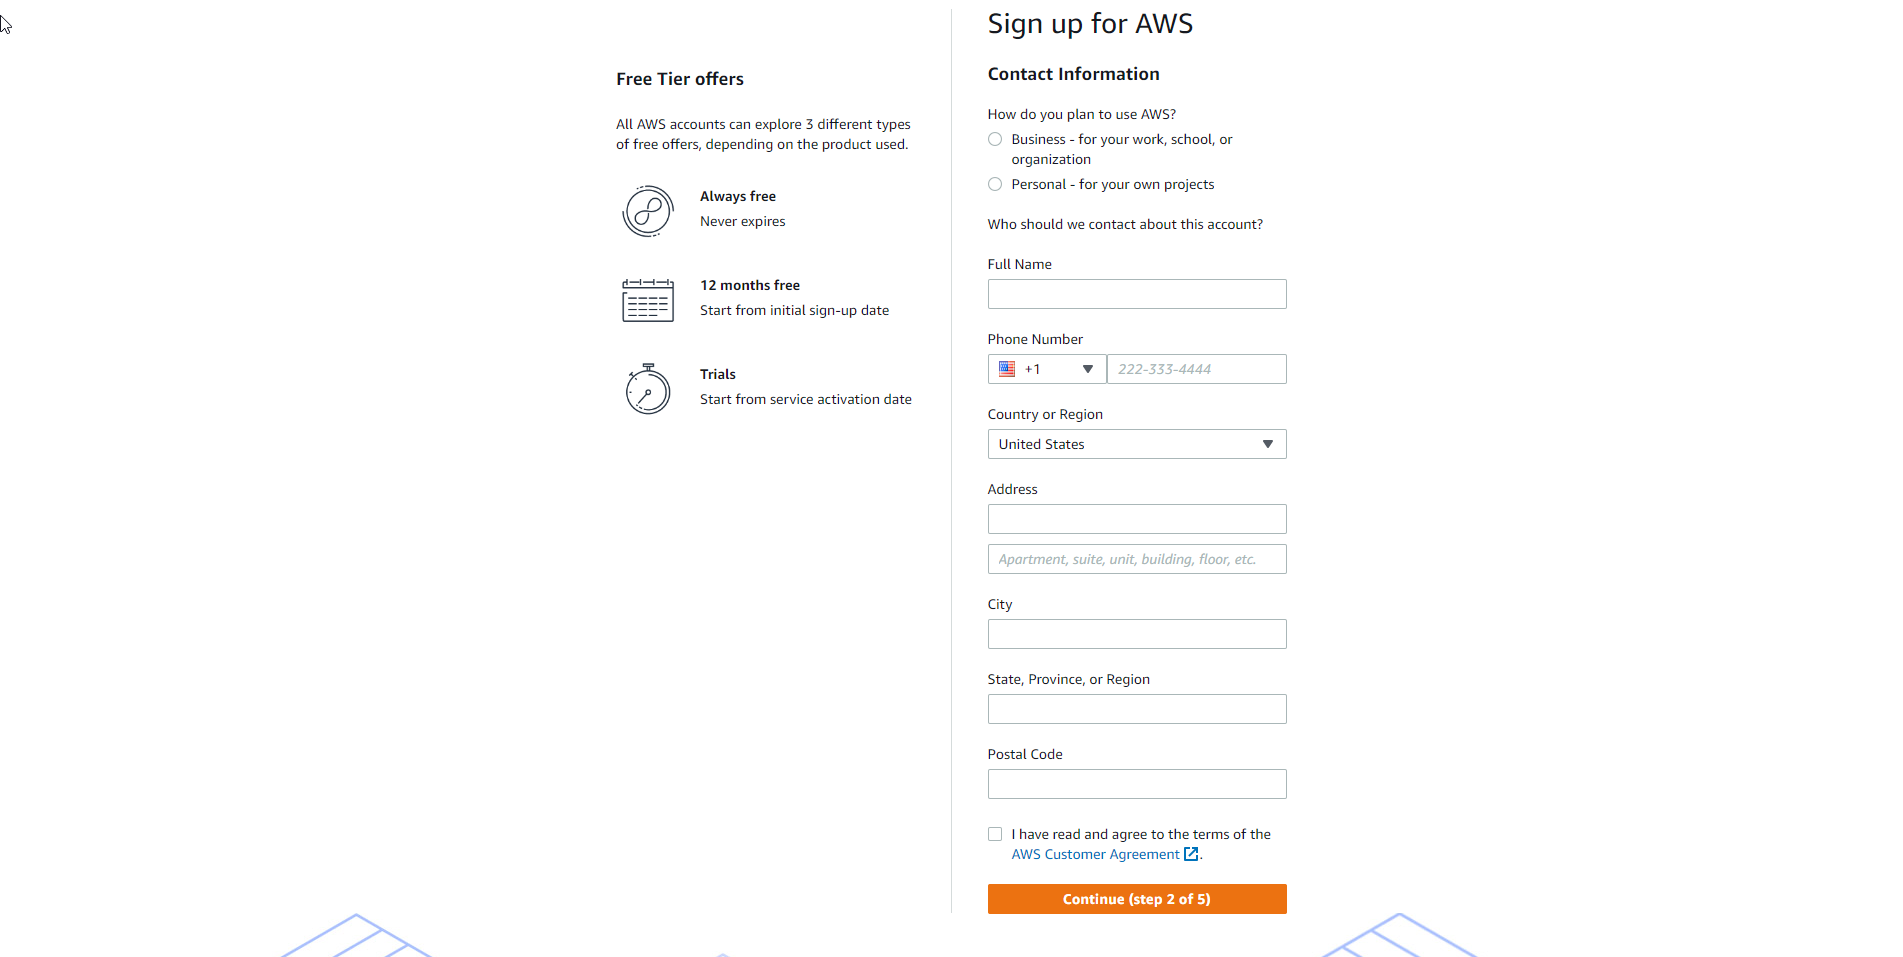
- Complete the account registration documents.
- You can choose Personal or Business account
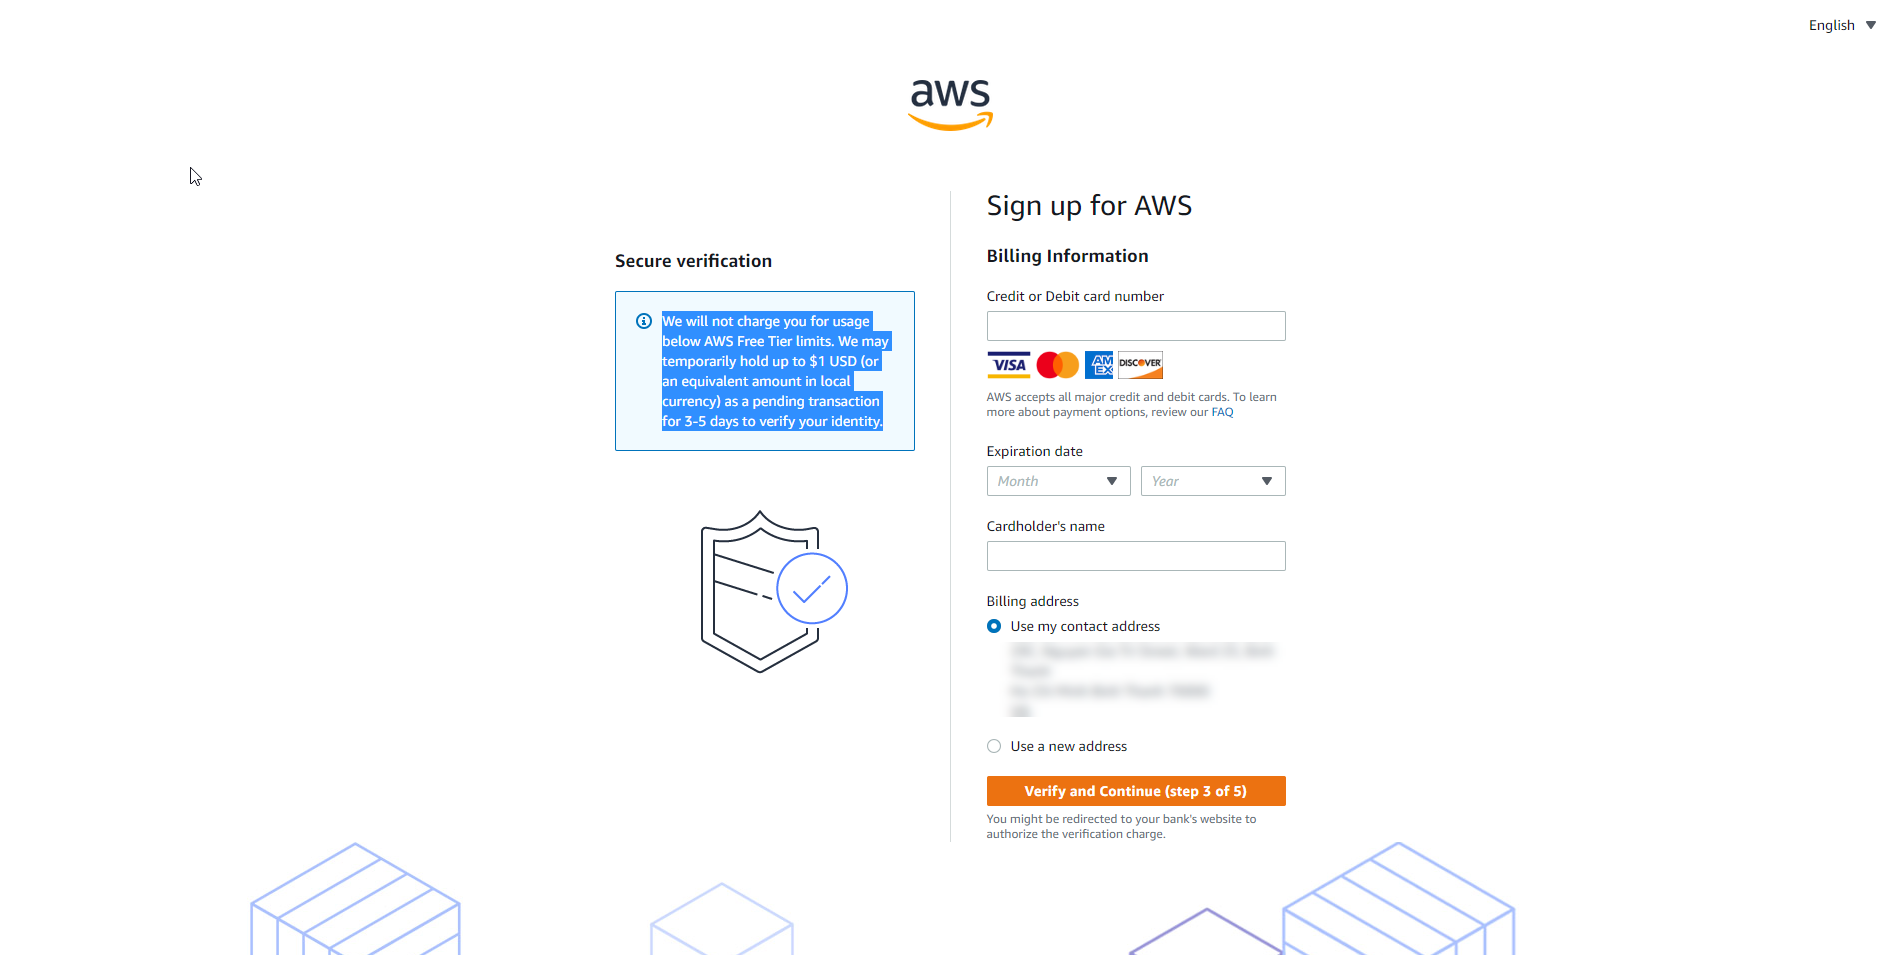
Add payment method
- Enter your credit card information and select Verify and Add.
- Note: You can choose a different address for your account by selecting Use a new address before Verify and Add.
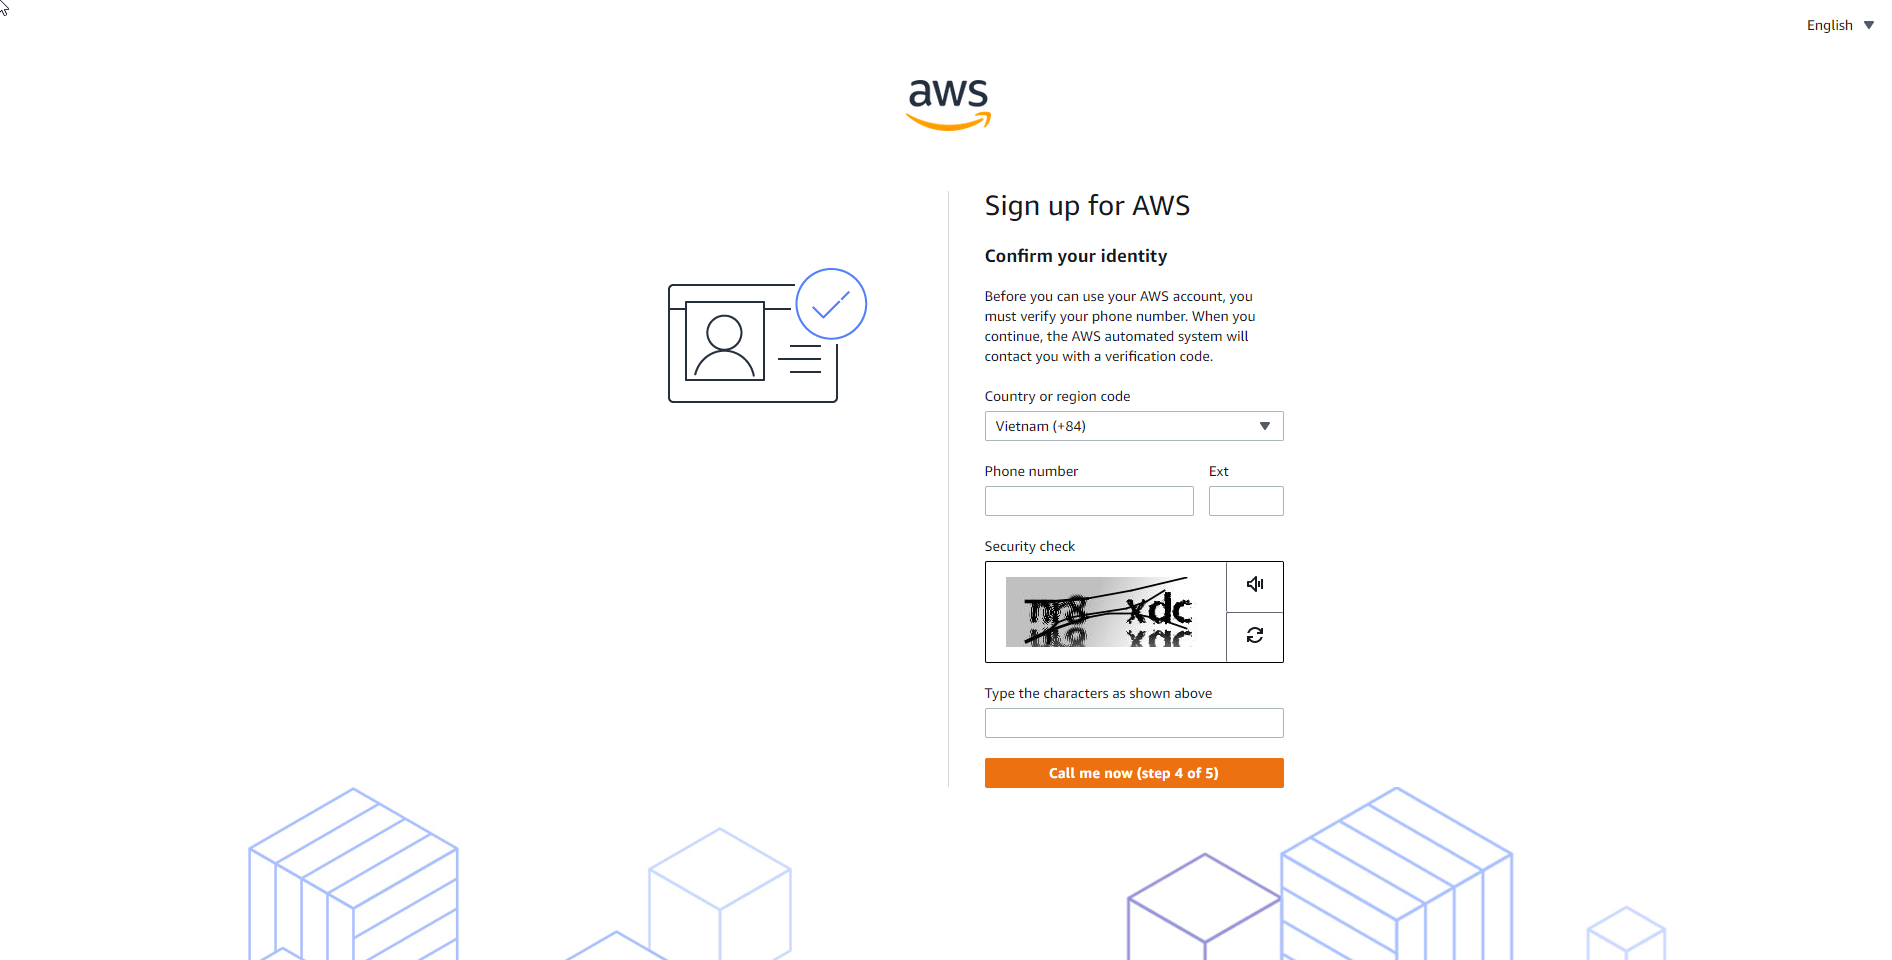
Verify your phone number
- Enter the phone number.
- Enter the security check code then select Call me now.
- AWS will contact and verify account opening.
Select Support Plan
- In the Select a support plan page, select an effective plan, to compare plans, see Compare AWS Support Plans.
Wait for your account to be activated
- After selecting Support plan, the account is usually activated after a few minutes, but the process can take up to 24 hours. You will still be able to log in to your AWS account at this time, the AWS Home page may show a “Complete Sign Up” button during this time, even if you have completed all the steps in the registration section.
- After receiving an email confirming your account has been activated, you can access all AWS services.
Important
The following AWS Identity and Access Management (IAM) actions will reach the end of standard support on July 2023: aws-portal:ModifyAccount and aws-portal:ViewAccount. See the Using fine-grained AWS Billing actions to replace these actions with fine-grained actions so you have access to AWS Billing, AWS Cost Management, and AWS accounts consoles.
If you created your AWS account or AWS Organizations Management account before March 6, 2023, the fine-grained actions will be effective starting July 2023. We recommend you to add the fine-grained actions, but not remove your existing permissions with aws-portal or purchase-orders prefixes.
If you created your AWS account or AWS Organizations Management account on or after March 6, 2023, the fine-grained actions are effective immediately.
AWS assigns the following unique identifiers to each AWS account:
-
AWS account ID: A 12-digit number, such as
012345678901, that uniquely identifies an AWS account. Many AWS resources include the account ID in their Amazon Resource Names (ARNs). The account ID portion distinguishes resources in one account from the resources in another account. If you’re an AWS Identity and Access Management (IAM) user, you can sign in to the AWS Management Console using either the account ID or account alias. While account IDs, like any identifying information, should be used and shared carefully, they are not considered secret, sensitive, or confidential information. -
Canonical user ID: An alpha-numeric identifier, such as
79a59df900b949e55d96a1e698fbacedfd6e09d98eacf8f8d5218e7cd47ef2be, that is an obfuscated form of the AWS account ID. You can use this ID to identify an AWS account when granting cross-account access to buckets and objects using Amazon Simple Storage Service (Amazon S3). You can retrieve the canonical user ID for your AWS account as either the root user or an IAM user.
You must be authenticated with AWS to view these identifiers.
Warning
Do not provide your AWS credentials (including passwords and access keys) to a third party that needs your AWS account identifiers to share AWS resources with you. Doing so would give them the same access to the AWS account that you have.